ReMarthable Contest finalist Kari Tarr creates artistic abstractions using Martha Stewart Crafts glitter and a few simple materials; she shares the method behind one of her most extraordinary designs.
Tools and Materials
- 3/4-inch birch-faced plywood
- Sandpaper
- Lightweight spackle
- 1-hole D-ring hanger
- Adhesive vinyl square bumpers
- 3/4-inch painter's tape (or black, pH-neutral masking tape)
- Metallic spray paint
- Paintbrush
- Glitter glue
- Martha Stewart Crafts glitter
- Glittering trays
Glitter Wall Art How-To 1. Begin with a piece of 3/4-inch birch-faced plywood that has been cut down to a 12-inch square. 2. With sandpaper, sand down edges of panel and fill in any cracks with lightweight spackle, if necessary. 3. On back of panel, attach 1-hole D-ring hanger and adhere an adhesive vinyl square bumper in each corner, 2 inches in from edge. 4. Tape off front surface of panel with painter's tape and spray edges with a metallic spray paint. Let dry completely. 5. Once spray paint has dried, remove tape and use a pencil and ruler to mark front of panel with vertical lines, each set 1 inch apart. 6. Use painter's tape (or black masking tape) to isolate 4 stripes on panel, each stripe two inches from the next. 7. With a soft, synthetic paintbrush, apply glitter glue to each stripe and sprinkle with glitter of desired color until completely covered. Turn board on its side and tap excess glitter into glittering tray. Carefully remove tape and let dry completely. 8. Adjacent to each of the already glittered stripes, mask off another set of 4 stripes. Be sure to not only tape off the next empty stripe but also lightly place painter's tape over the already glittered stripes. Repeat the glittering process, carefully remove tape and let dry completely. 9. Repeat the taping and glittering process on the last set of 4 stripes. Let dry completely and remove final strips of tape. 10. Hang your glitter wall art and enjoy!
Resources 24-vial glitter multipack,
glitter glue, and
glittering trays available from Martha Stewart Crafts. All other tools and materials, including birch-faced plywood,
1-hole D-ring hangers, and
adhesive vinyl square bumpers, available from The Home Depot. Visit Kari Tarr's
personal website and
Etsy store.
Here is a great find from Disney Food Blog!!! I love this site, even if you are not planning a trip to Disney, they have great recipes on there site! How great would this be if you are planning a Disney themed birthday party! Adorable and how yummy!
Dining in Disneyland: How They Make World of Color Caramel Apples
Mar 4th, 2011 by Heather. Dining in Disneyland columnist, Heather Sievers, walks us through what goes into making one of those beautiful World of Color caramel apples in Disneyland! Oh, and she samples one on our behalf as well 
If you read my posts regularly, you know I am a sucker for Marceline’s in Downtown Disney. That giant candy kitchen window is my favorite thing to check when I go to the parks. You never know what they will be making. I’ve seen everything from cupcakes to chocolate dipped strawberries, and just about every type of
Disney caramel apple they make. Yet, I had never seen them making the World of Color apples until just this past week. And, until I did, I had no idea what an art form making one of these little beauties was.

Perhaps the Most Beautiful Treat on Earth!
The first thing I noticed was that there is a “full-time” marshmallow cutter. Disneyland uses large, Kraft Jet Puffed Marshmallows for the ears on all of their
Mickey & Minnie caramel apples. This woman spends her time, scissors in hand, cutting marshmallows in half to create the ears.
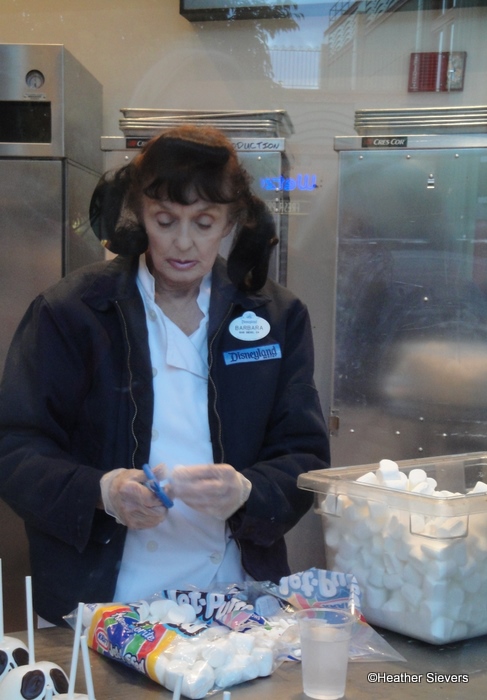
Barbara, The Marshmallow Cutter
I’m sure Barbara is a precise marshmallow cutter; but the skills that apple maker extraordinaire, Tony, has will blow your mind.
Tony starts by attaching the halved marshmallows with melted white chocolate to a pre-dipped caramel apple. He then dips the whole apple into the melted white chocolate.

Dipping the Caramel Coated Apple & Marshmallow Ears
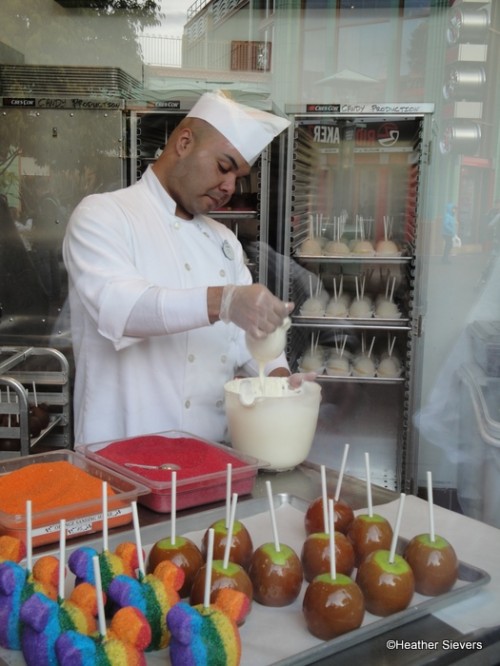
A Coating of White Chocolate
Right after the “dip,” he begins working his magic. Starting with the red sanding sugar, Tony works his way through a rainbow of sugars: red, orange, yellow, green, blue & purple.

He uses a small spoon and makes perfect stripes of colored sugar until the white chocolate is no longer visible. He does this without measuring or guidelines, a perfect stripe every time!
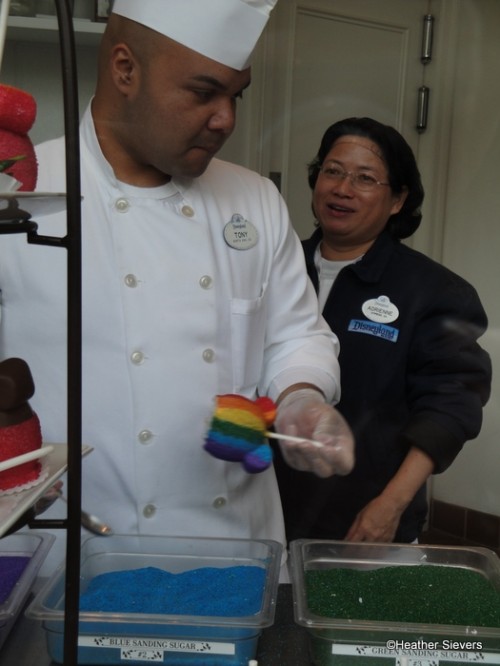
The End of the Rainbow
After each color is represented on the apple, he goes back to red and works his way through the rainbow again touching up any thinly-colored spots.
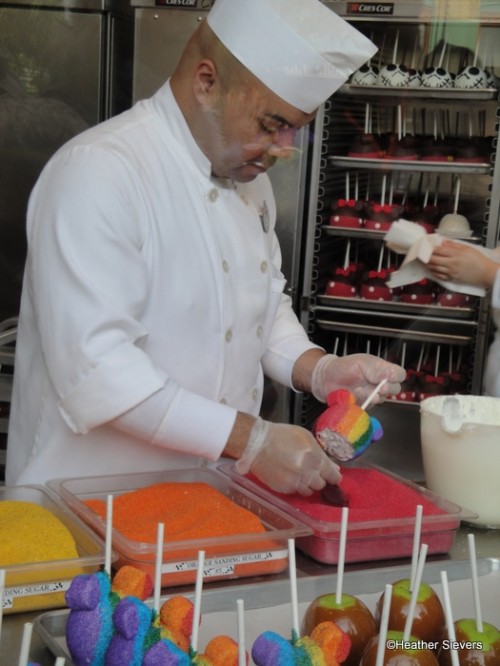
Retouching the Sanding Sugar
Not only had I never seen these apples being made, but I’d also never purchased one. In general, I love caramel apples, as do my live-in taste-testers, but I am not a fan of walking around with one and eating it off of the stick. And if it’s messy for myself as an adult, there’s no way I’m going to hand one over to a child. At almost $10 a pop, if they dropped it, well, I’d probably make them eat it off of the ground.
Therefore, we decided it was best to pick one up on the way out and take our business home with us.
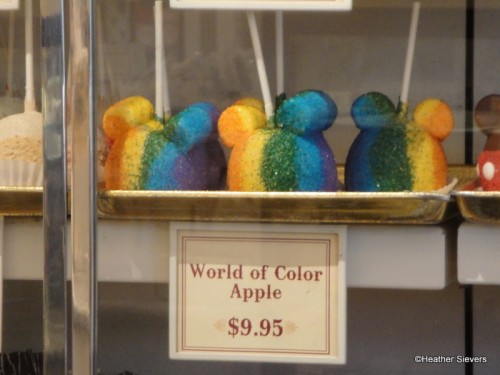
World of Color Caramel Apple Display
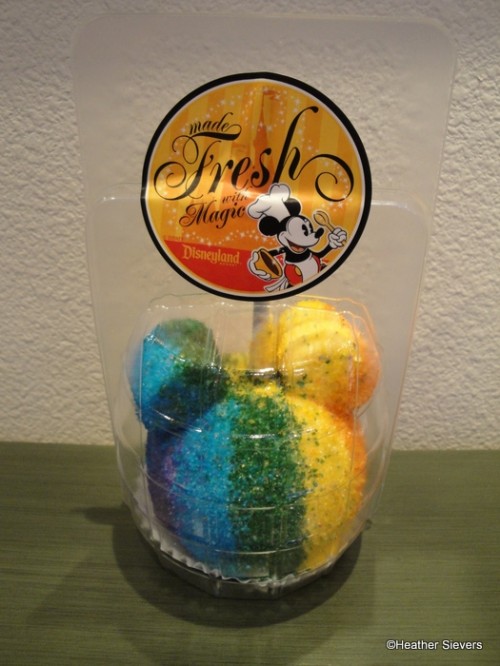
To Go Packaging
This worked out perfectly, as we were able to cut it up and share it amongst the four of us. It’s much easier to justify the price of $9.95 when it’s being shared by a family of four.

Out of the Package

Side View

Side View

Top View
After my little photo shoot, I grabbed a giant knife and cut the apple into pieces. We each got to have a nice sized sample and everyone agreed that it was delicious. The ratio of caramel and chocolate to apple is perfect. They are thin layers, so it’s not overwhelmingly sweet.
The sweet caramel and white chocolate paired with the tart Granny Smith apple is a perfect combination. I will admit that the sugar can be messy. I recommend eating it over a plate or napkin.

World of Color Caramel Apple Cross Section
Overall, I highly recommend giving the World of Color caramel apple a try. It’s beautiful and it tastes yummy too! On a side note, I’m pretty sure that Tony did
not make the apple we purchased. The lines were not nearly as perfect as the ones I saw on “his” apples.


